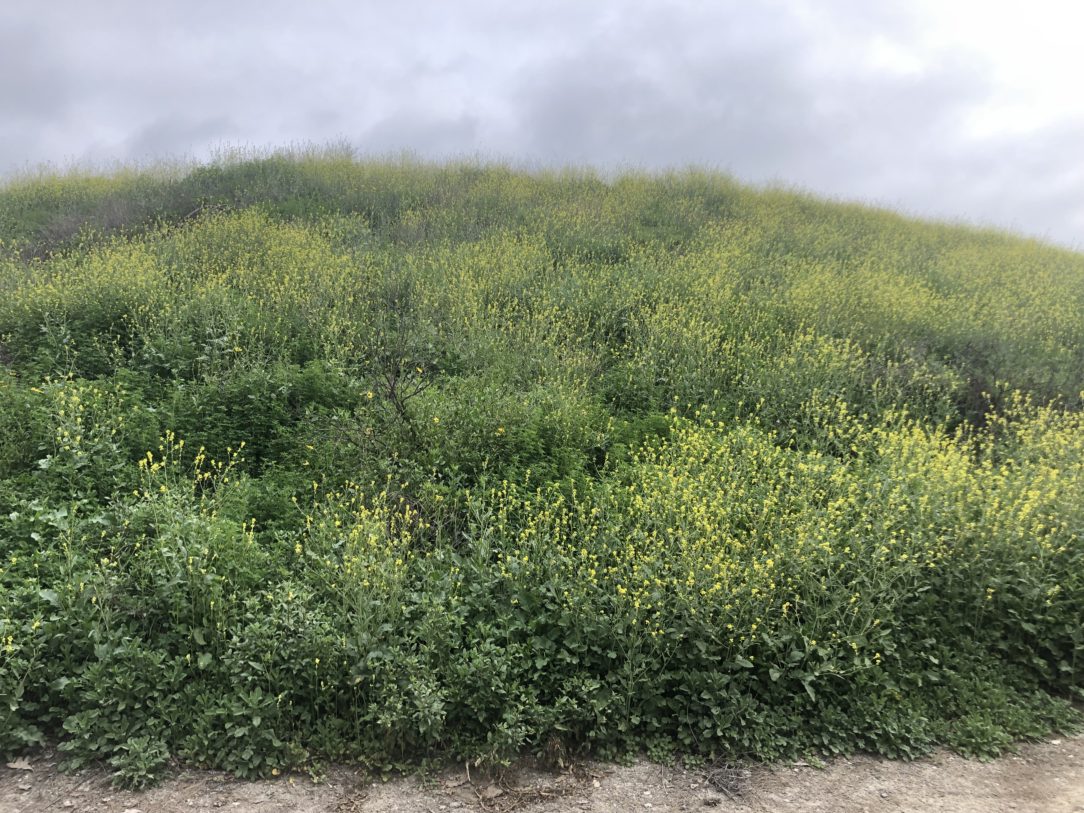
With all the gorgeous super bloom happening in Southern California this year, there are flowers everywhere you look. Formerly barren dirt brown hills have been transformed into rolling meadows filled with green, yellow, purple, orange, and every other color in the rainbow.
Recently, I attended a fundraiser for the McKenna Claire Foundation, which raises money for pediatric brain cancer research. This is a cause that is a very personal one as we have good friends who lost their only child to a DIPG brain tumor a few years ago. The McKenna Claire Foundation’s annual fundraiser is a festive costume party, and this year’s theme was the 1960s.
So of course, I thought, I have to wear a flower crown!
A friend showed me how to make one using wildflowers from a local park, and I was surprised at how easy it is! So when I showed up at the fundraiser in my tie-dye dress and flower crown, I expected to see many more crowns around me.
But somehow, I was the only one wearing real flowers.
Everyone else had fake plastic flower crowns that they spent way more on than I did, since I paid exactly zero dollars for mine. And the best part about making your own flower crown is, after the party was over and it had wilted, I just put the flower headband in the green recycling bin (or you can put it in your compost bin) without any guilt of it ending up rotting in a landfill for several hundreds of years.
So then I thought, everyone needs to learn how to make a flower crown!
Whether it’s for a costume party, a birthday picnic at the park, or just for fun, this flower crown DIY will definitely come in handy should you find yourself with an excess of wild flowers. Or the desire to wear a flower crown.
Flower Crown DIY:
Step 1: Pick The Flowers
The best kind of flowers to use as the base of a flower wreath are ones that have small leaves on the stems instead of smooth stems. That helps the stems to “snag” on each other as you wrap them around in a circle and knot the stems together. You also want stems that are flexible instead of stiff so they can be wrapped and bent.
Roses, for example, are not ideal for creating a flower crown base.
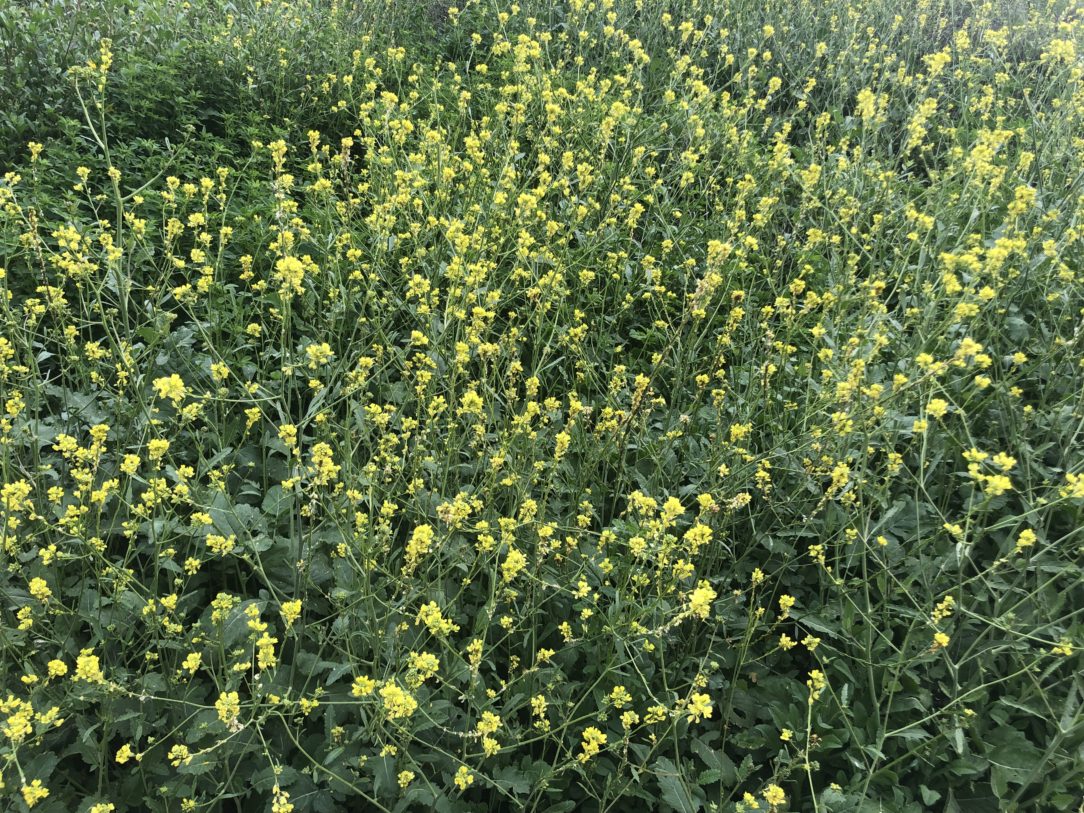
Right now in SoCal, there’s an abundance of mustard plants (see above) in the super bloom. These have small yellow flowers and lots of little green leaves along the stems. They also happened to be blooming in the field behind my son’s school, so the stars lined up to use this as the base of the flower crown.
NOTE: please do not pick flowers from someone’s yard or personal property without their permission. If they look nice it’s likely because the owner has made an effort to tend to their garden. And even if they don’t, it’s still stealing. If you don’t have a yard or permission to clip from someone else’s field, find a park with wild flowers instead!
For this flower crown DIY, I picked a couple other blooms that were growing wild nearby the mustard greens just for contrast. But you can totally use just one type of flower. This is your crown.
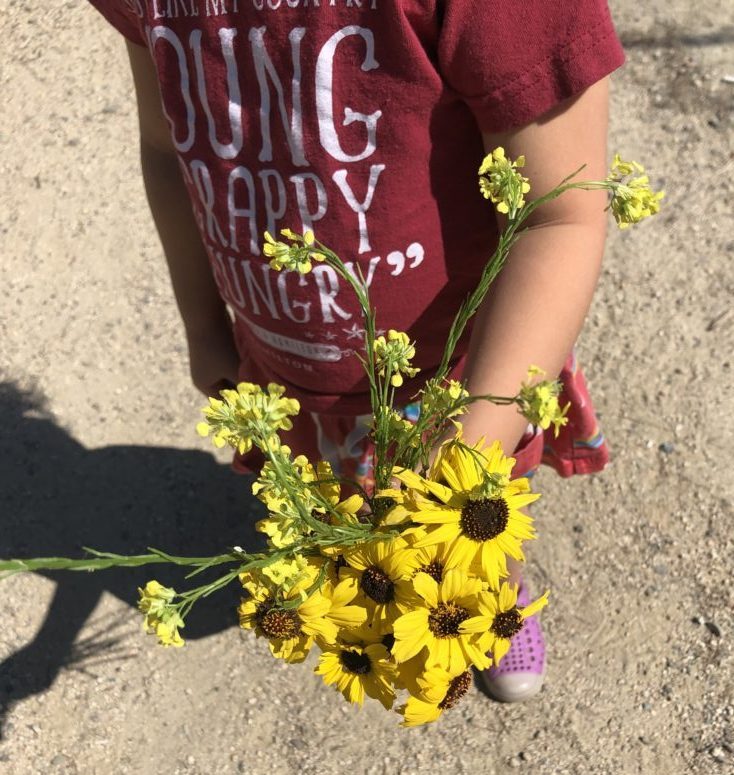
My daughter loved helping me pick the flowers. This is a great activity to do with kids to get them out into nature, and a fun craft to do together.
Have fun finding the right combo of blooms! This is a great activity to do with kids to get them out into nature, and a fun craft to do together.
Tip: If you’re picking wildflowers from a field, you may notice they have aphids or other small bugs on them. That’s ok! You can put them in the fridge for a few hours before starting your crown, or just gently shake them clean.
Step 2: Measure the head circumference
Whether the flower crown is for you or someone else, you’ll want to make sure it fits the head properly before you get to work weaving the flowers together.
You can measure the head with a long piece of string or a soft measuring tape. If you picked enough wildflowers to spare, you can try eyeballing it after the first couple knots to create the initial loop. But definitely don’t get too far into the process without checking to make sure the flower crown will fit well in case you need to start over!
Step 3: Start tying knots!
This was the part that intimidated me the most about making a flower crown headband, but it actually turns out to be quite painless. Just make knots like you would with rope.
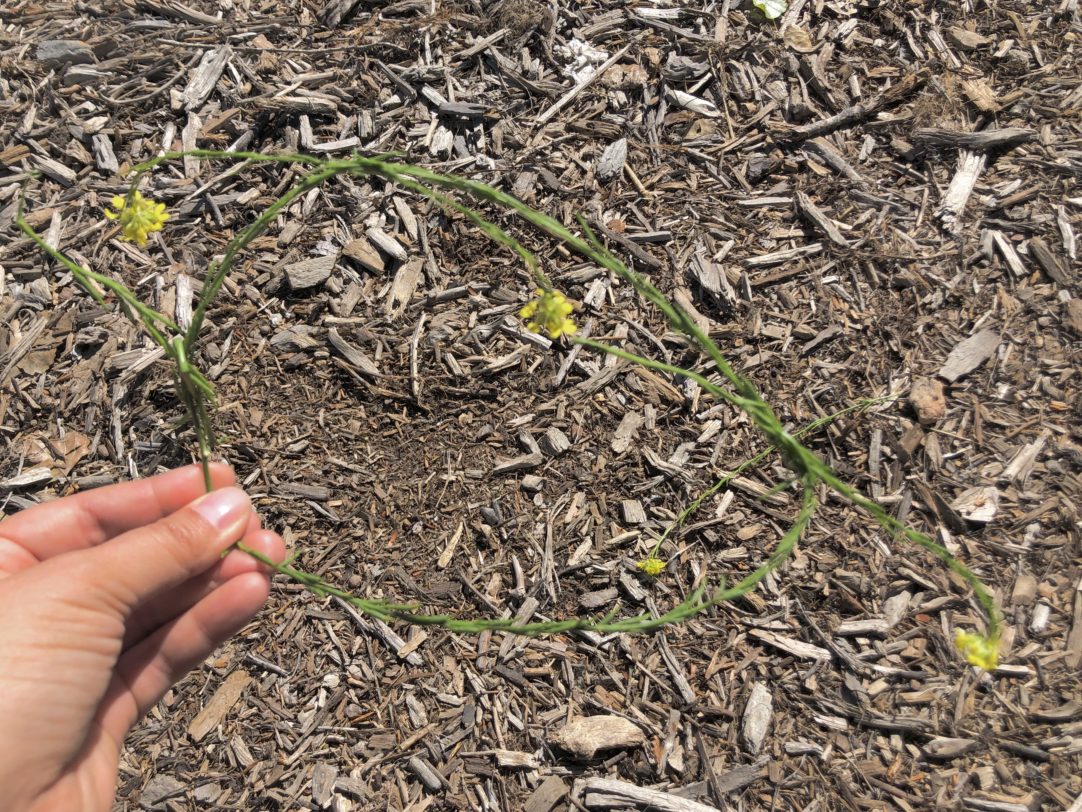
The beginning of my flower crown.
It doesn’t matter if the ends stick out or it looks a bit sloppy. You can fix that with other flower stems later as you layer more in! Just wind the excess stem around the base crown and then knot it once the stem is at its end. Target the existing knots to wind the new stems around; That’ll smooth out the kinks and help the crown have a more perfectly circular shape.
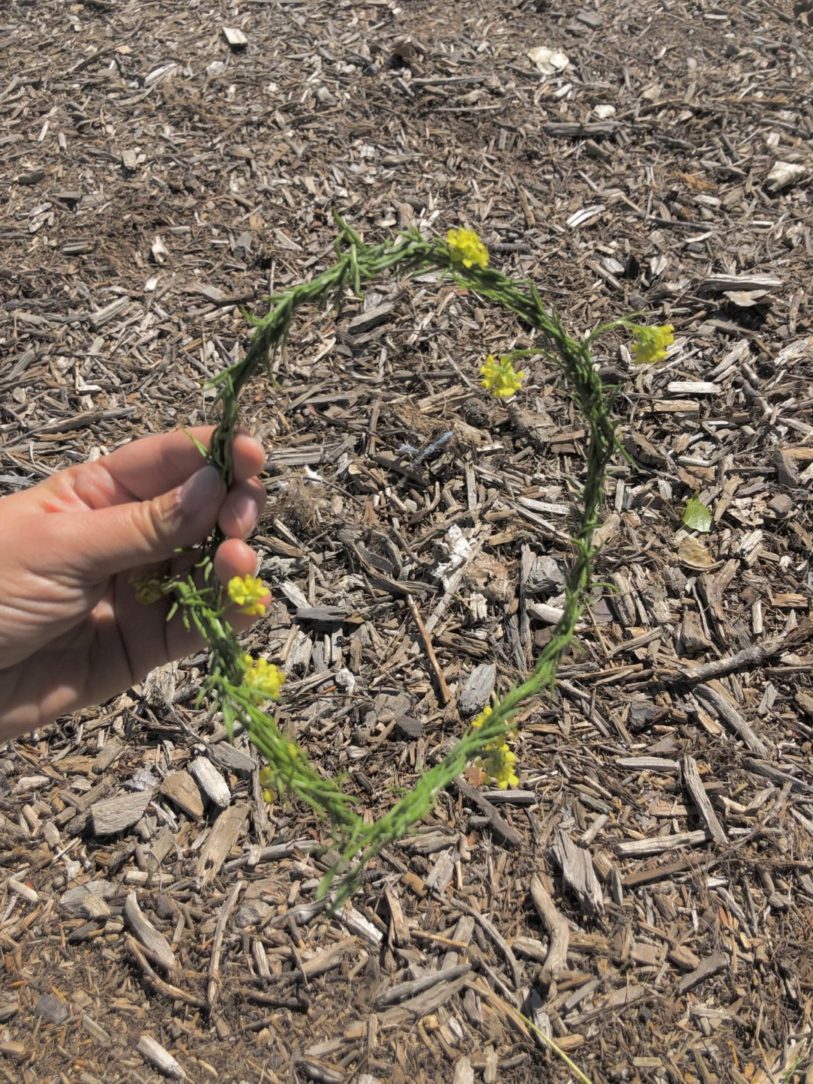
I’ve worked out the kinks from all the original knots in this crown except one which you can see at the bottom.
After you do this a few times, you’ll notice you may not even need to knot the stem at the end, but can just stick it in between existing flower stems and it’ll stay put. You can also use this winding technique to rein in any flowers that are sticking out too far from the base crown.
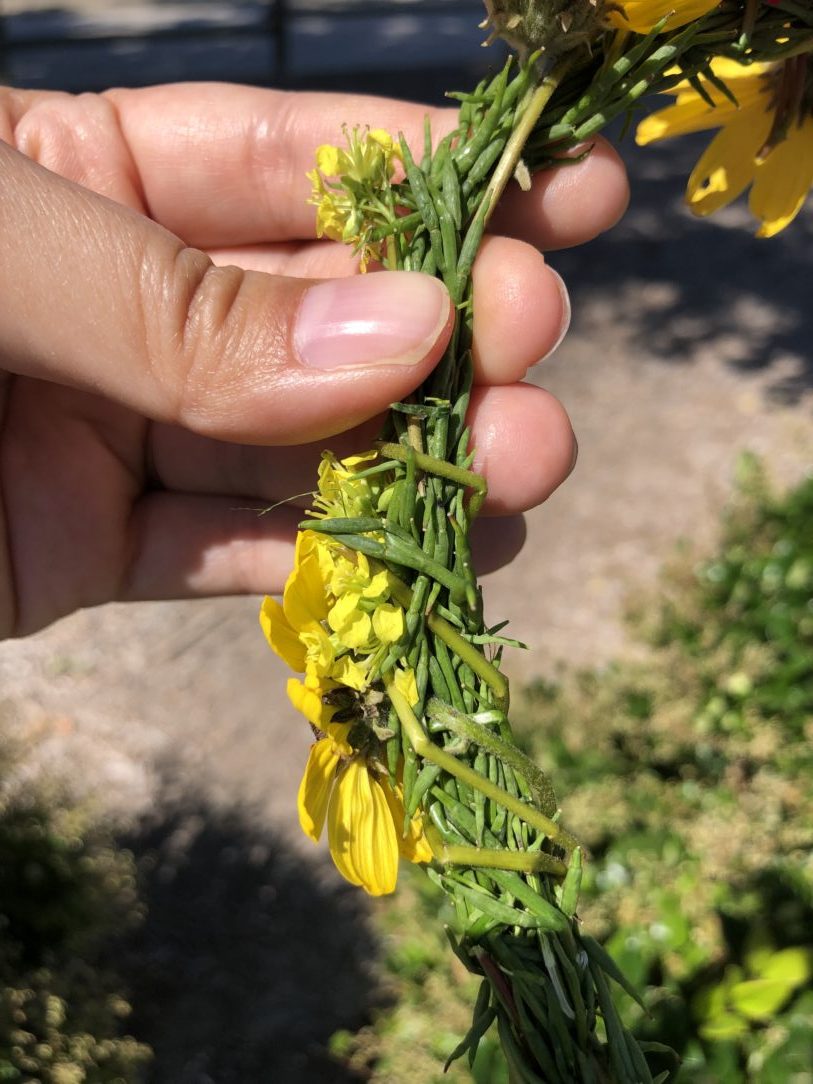
Close up of how the stems are wrapped around the flower headband.
Again, don’t worry if it doesn’t look perfect at this stage, you’re still mostly building a solid flower base for the crown.
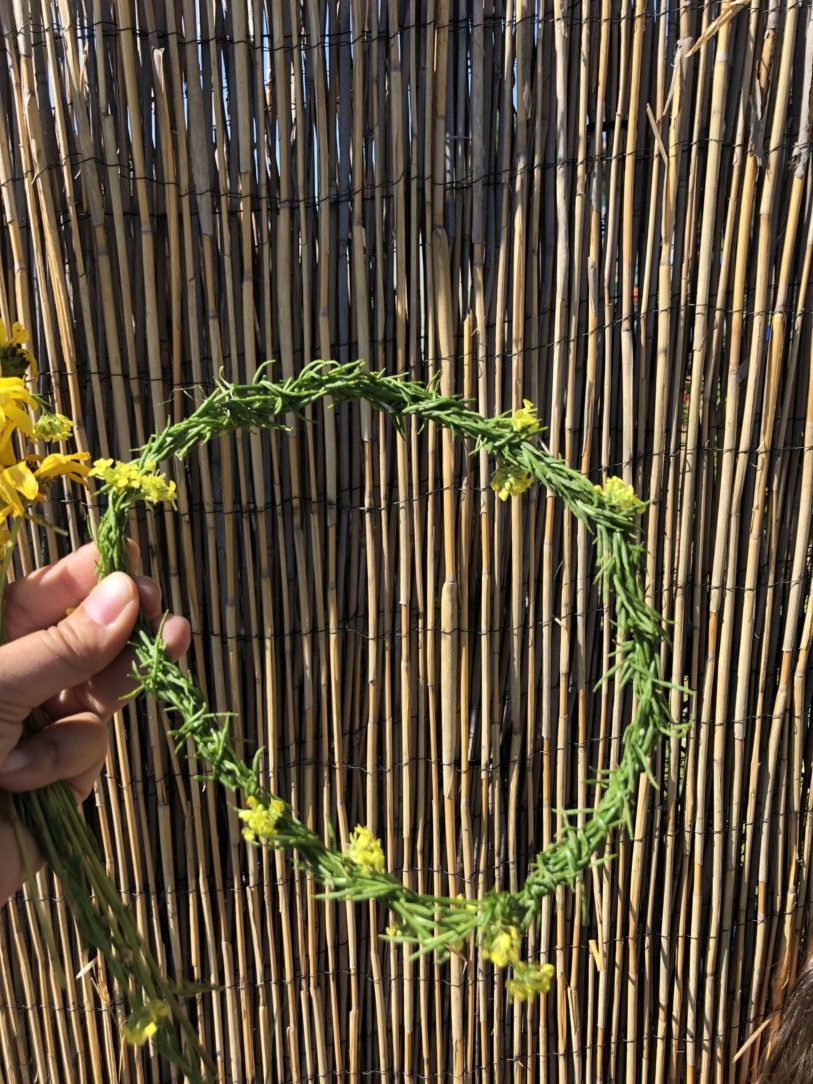
All the knots have been smoothed over in the flower crown base now.
Step 4: Add in more “showpiece” flowers
Once you’ve got your base crown in good shape, you can start adding in your “showpiece” flowers. This means the best blooms you found that have all their petals intact, and look the freshest. If your flower crown base is sturdy enough (see close up photo above), you should be able to just stick the flowers into the base directly without having to knot their stems. Feel free to still do that for extra insurance if you’d like though.
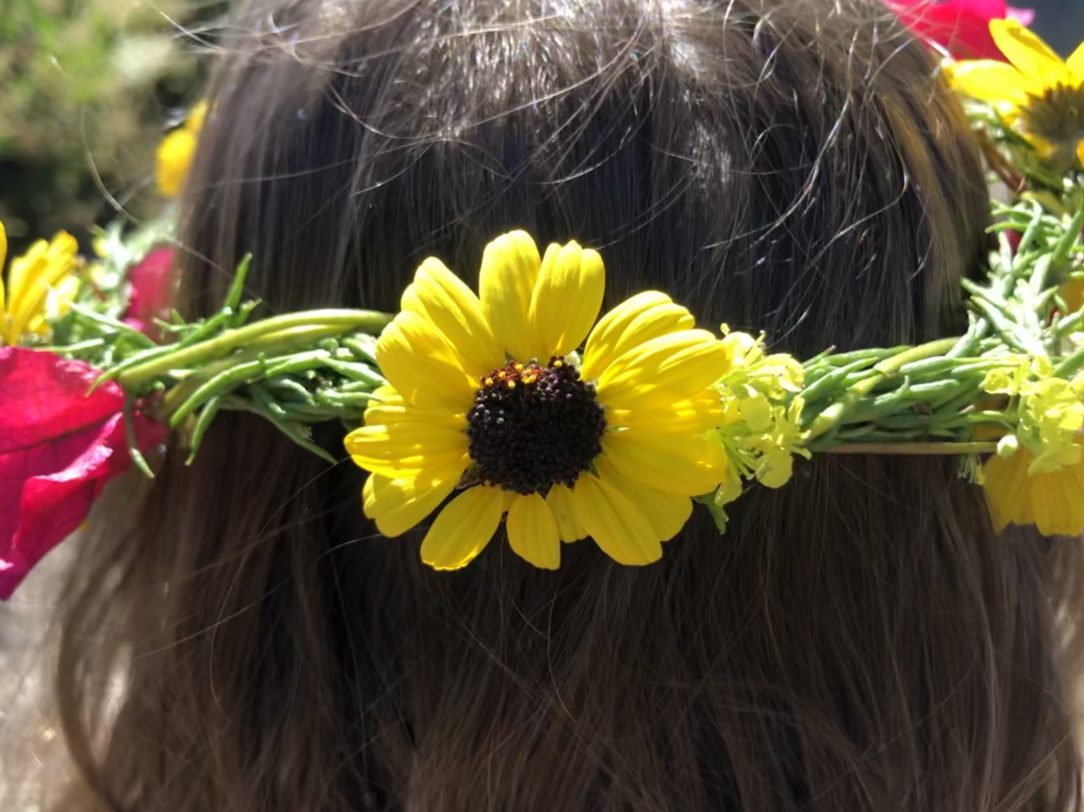
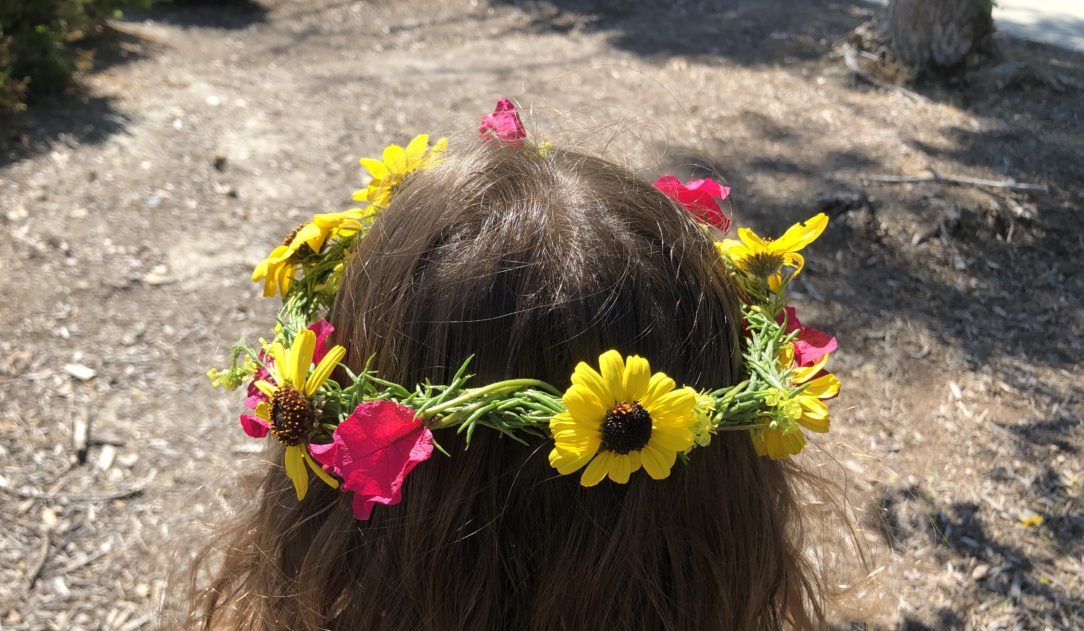
For this flower crown DIY I used yellow daisies and some fuscia blooms I found nearby. I like the contrast of colors, and somehow having yellow blossoms in the mix just shouts summer to me!
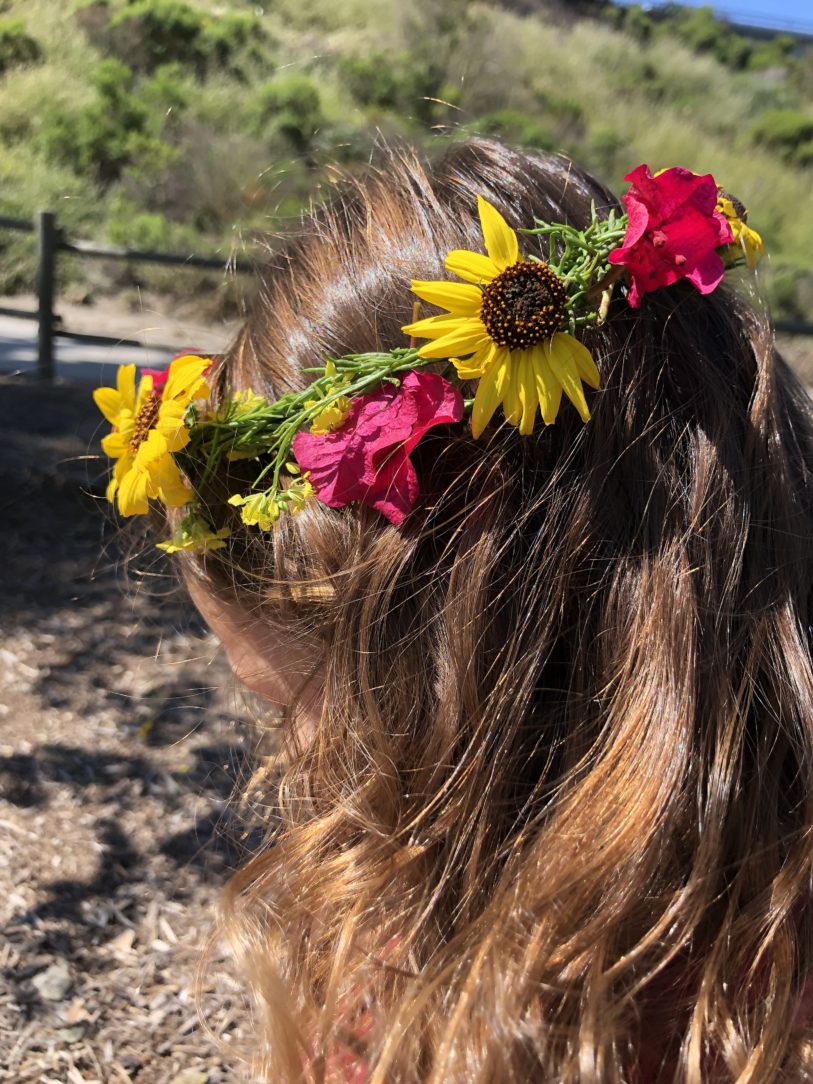
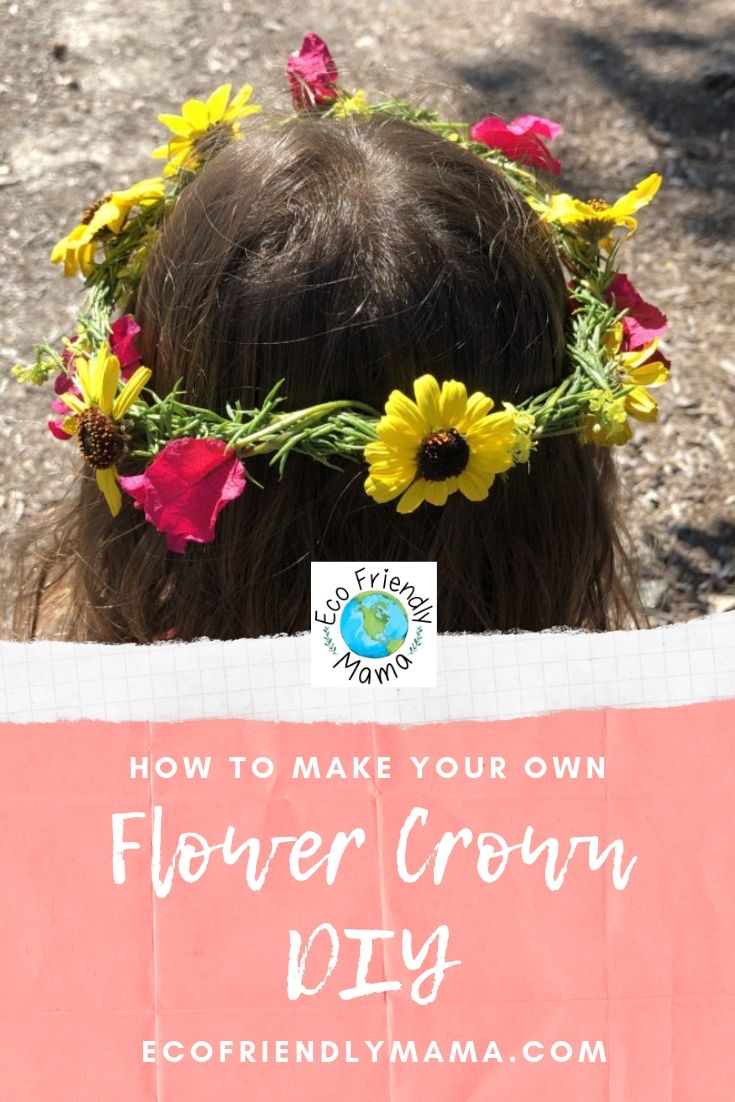
And that’s it! You’re now a flower crown goddess!



Emily
I love this! My nieces LOVE flower crowns! Now I can make ones that won’t fall apart so easily!!
Eco Friendly Mama
Yes! It’s all about finding the right kind of flower stems for the base. ; )
Lia
What a lovely colour combination! Thank you for this! I’ve sometimes wondered how people make these beautiful crowns!
Eco Friendly Mama
You’re so welcome! They really are much easier to make than you’d think!
Sandra
Love this! Your crown is so beautiful and fresh.
Eco Friendly Mama
Thank you so much! : )
Mama Writes Reviews
OH this is so CUTE! I don’t have little girls, but maybe I’ll convince to my boys to wear them too.
Eco Friendly Mama
Kings and princes wear crowns too! You can call them laurels if that helps convince your boys ; )
Jennifer Morrison
This is gorgeous!!!! We have wildflowers in the back yard. I can’t wait to try this with my granddaughters.
Eco Friendly Mama
Thank you! How cool that you don’t have to look too far to find wildflowers. I’d love to see the crowns you make with them : )
Melanie
This is so fun! I can’t wait to make a flower crown with my daughters.
Eco Friendly Mama
Thanks! It’s a fun activity to do together. : )
Damico Brown
I can’t wait to start on this project, right on time for summer.
Eco Friendly Mama
Awesome! Would love to see your crown if you make one : )
jessica lynn
My girls would LOVE this!!! But we may need till wait till spring, or when we visit SD again; we just moved to New Mexico, and there’s a lack of beautiful flowers growing. lol
Eco Friendly Mama
Lol awww that’s too bad. Guess it’s too hot there right now for the flowers? Hope you’re able to find some good blooms next spring!
Crystal // Dreams, etc.
This looks like a great summertime activity. I love floral crowns! They’re always so whimsical.
Eco Friendly Mama
Yes! And the best part is given how many different kinds of wildflowers there are in bloom right now, you can make a different-looking crown every time. : )