How to Make a DIY Veggie Stamp
With Thanksgiving coming up and schools closed the entire week, I thought it would be fun to show you how easy and eco-friendly it is to make a DIY veggie stamp for your kids to make art with! (If you’ve read my post about making a Gratitude Gourd for Thanksgiving, you know I’m all about using farm produce as a family-friendly activity lol.)
All this really takes is having some extra vegetables or fruits around the house.
They can even be scraps from your cooking! If you’re making mashed potatoes or candied yams for Thanksgiving dinner for example, cut off the ends of the potatoes and let the kids turn them into decorative stamps while you cook. This is both a way to upcycle your kitchen scraps and also keep them occupied while you focus on making dinner.
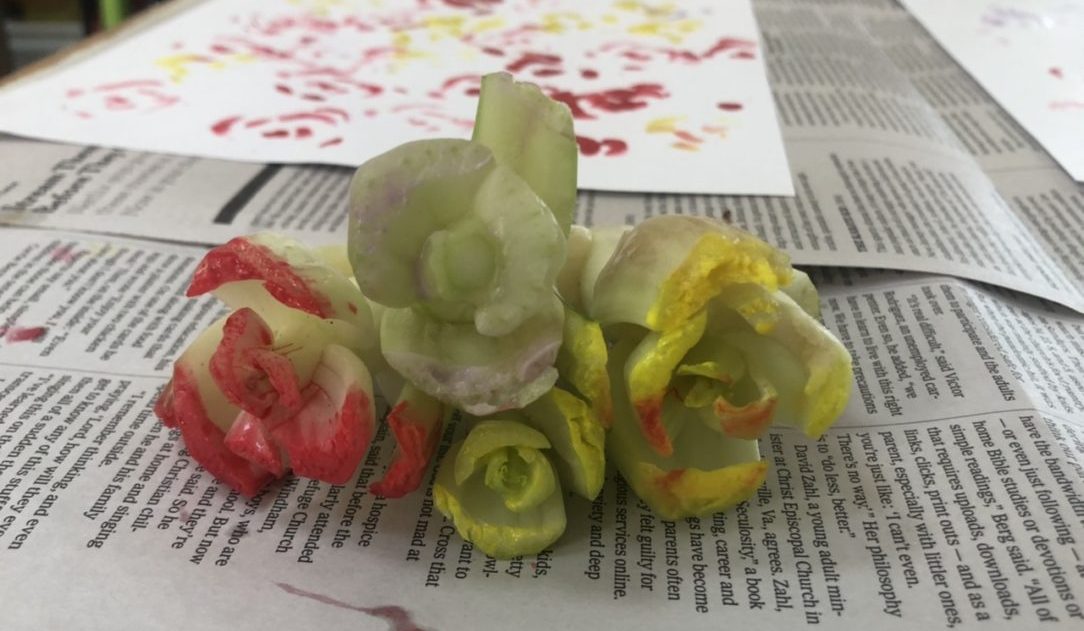
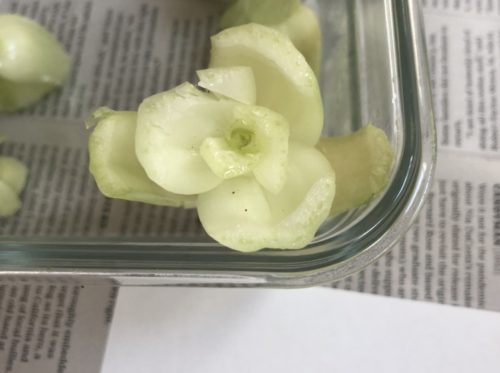
To create the images in this post, I used the bottoms of bok choy greens.
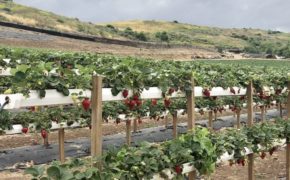
At this time of year, we tend to get bok choy pretty much every week in our CSA box from the local farm. Don’t get me wrong, I love bok choy. It’s great in stir fry, thrown into soups, wilted under roast chicken, and chopped for veggie frittatas. But when you’ve had it week after week, you start to wonder,
“what else can I make with this vegetable?”
Art, as it turns out!
When cut just a couple inches from the bottom of the stem, the natural shape of the boy choy looks like a flower. The bigger the boy choy green, the bigger the flower pattern. But this works with even younger, smaller stems that only have a few “petal” stems.
Supplies You’ll Need For Your DIY Veggie Stamp
- veggies to stamp with
- paint/ink/natural dye
- paper
That’s it! For the photos in this post, I used some extra kid-safe paint diluted with a bit of water, which we had leftover from some project or another that I’d been hoarding in our art cabinet for just this kind of purpose.
This DIY veggie stamp project is a great way to use up random bits of paint.
If you don’t have spare paint laying around, you can also use ink pads, or even natural dyes! If you’re making your own cranberry sauce for Thanksgiving for example, you can try syphoning off some extra cranberry juice for a dye. Pomegranate or blueberry juice, dark brewed tea, wet turmeric, black bean liquid, or the water from boiling red cabbage for example would all make decent natural coloring to use with these stamps.
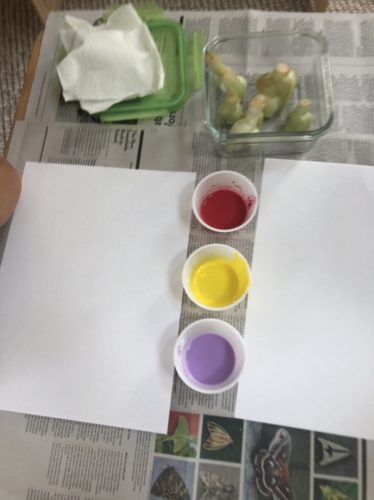
By the way, the little plastic cups used here to hold paint were recycled from a take out meal. I always rinse out and keep little cups like this for art projects and to sort little items into like beads, legos etc.
How To Make Your DIY Veggie Stamp
For the bok choy that I used here, it was as simple as cutting off the stems about 2 inches from the base. If you’re using potato ends, you’ll need something to carve a design on them with. If your children are old enough to use a dull knife that would work, or they could use a pen or even a chopstick to carve out their patterns. This post cleverly uses cookie cutters!
You can also experiment with celery sticks for a half moon ridged shape. Again, a great use of extra bits from Thanksgiving dinner as my mom’s stuffing recipe calls for celery!
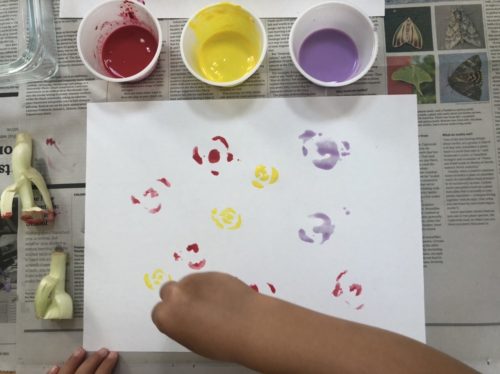
Or try citrus fruit halves which have their own unique pulpy patterns. Onions cut in half would have an interesting ring shape. No need to waste fresh produce on this project, just reuse whatever scraps from the meal you want that are sturdy enough to be used as a stamp.
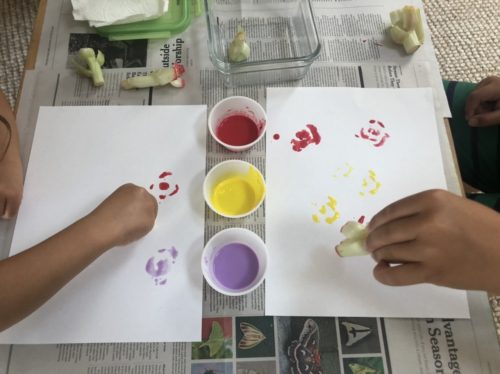
Brother and sister making art together : )
My daughter had SO much fun with this DIY veggie stamp project. She thought it was pretty funny when mommy cut off the ends of something from our fridge and then told her she could make art with it. And then when she saw the way they looked like flowers on the paper, that was a cool a ha moment for her.
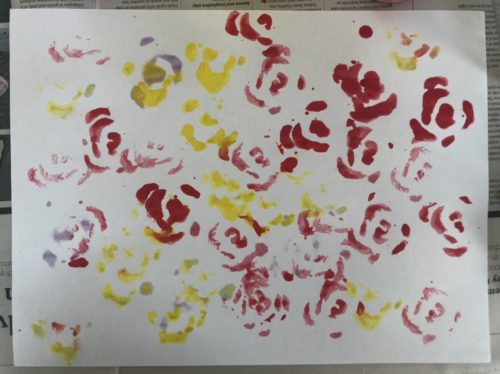
The finished product: Tada!
So, next time you find yourself with some extra farm produce on hand and don’t know what to do with it, don’t forget that art is always an option! Wishing you and your family a safe and Happy Thanksgiving.




Stephanie
I LOVE this idea!!! 🙂
Eco Friendly Mama
Thank you!