DIY Wooden Bookshelves – Eco-Friendly, Easy, And Cheap!
It can be frustrating trying to find bookshelves for your home that are affordable but not made from plastic or MDF. I searched high and low until it struck me that I could make my own DIY wooden bookshelves quite easily, and for far less than what it would cost to buy solid wood bookshelves in a furniture store.
In fact, I spent less than $30 to build a set of these wooden bookcases.
Let me start by saying – and I can’t stress this enough – I am not a super skilled DIYer. Nor am I an expert in making furniture, woodworking, or general handy-ness. That said, I do enjoy making my own things when possible, and also problem-solving. After searching high and low, from brick and mortar furniture stores and thrift shops to online retailers and resale groups on facebook, I just could not find what I was looking for: a set of affordable short solid wood bookcases for my toddler’s room.
You know that old English proverb, “necessity is the mother of invention” right?
Well, that’s exactly what happened here. I was in Michael’s (a local crafting store) getting something else, when I noticed they have a whole aisle of woodworking materials including unfinished wooden milk crates!
These wooden crates are sturdy, solid wood, and just the right size for stacking. Better yet, they are “everyday value” items at Michaels, which means they always have them in stock and at a great price. Just $10 per crate!
NOTE: Though Michaels seems to always have good coupons, you can’t use them on these particular items, or anything else labeled “everyday value.” That’s because they’re already very well priced and are considered a “loss leader” or “doorbuster” item.
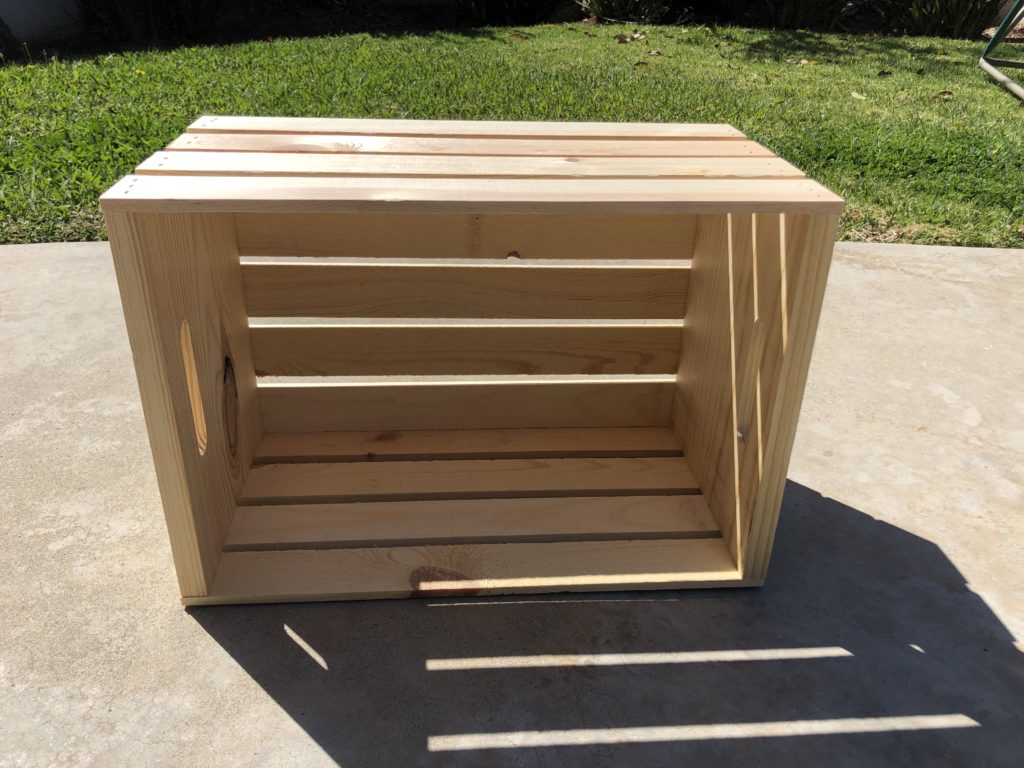
Here are the only items you’ll need to make these DIY wooden bookshelves:
- 2 wooden milk crates ($20 plus tax)
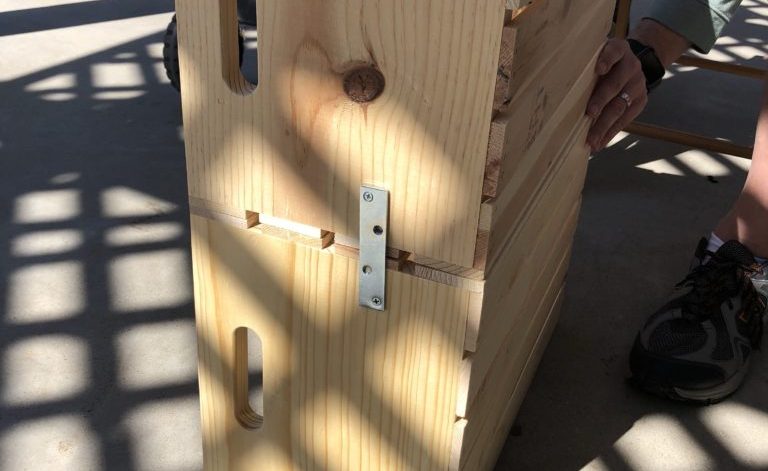
- 2 metal braces and screws (about $3)
- screwdriver/power drill (borrow from a friend if you don’t already own one!)
- sandpaper/sanding block (about $1 per paper sheet or $5 for a block)
And that’s it! I used the metal braces because I planned to stack the wooden crates and didn’t want my toddler pulling one down onto her head. Also, living in earthquake prone California, I didn’t want one falling down during a tremor.
Step #1: Sanding the wooden crates
This was the most labor intensive part of this project. Well, aside from physically going to the store to buy them and get them home. While it is cheaper to buy sandpaper, I decided to use a sandpaper block because I figured it would be easier to use in the inside corners. So I used a medium grit sanding sponge to smooth down the rough edges both outside and inside the crate. I did two crates during my toddler’s morning nap, so about an hour maybe less. Sitting in the backyard listening to a podcast I barely noticed the time go by.
There’s a meditative, soothing quality to using sandpaper on wood.
I sanded until I was satisfied with the result. The bookcases still had a little bit of roughness when I finished. But in the year or so that we’ve had these DIY wooden bookshelves, they’ve never given anyone a splinter or even a scrape from a rough edge.
Step #2: Attach the metal braces
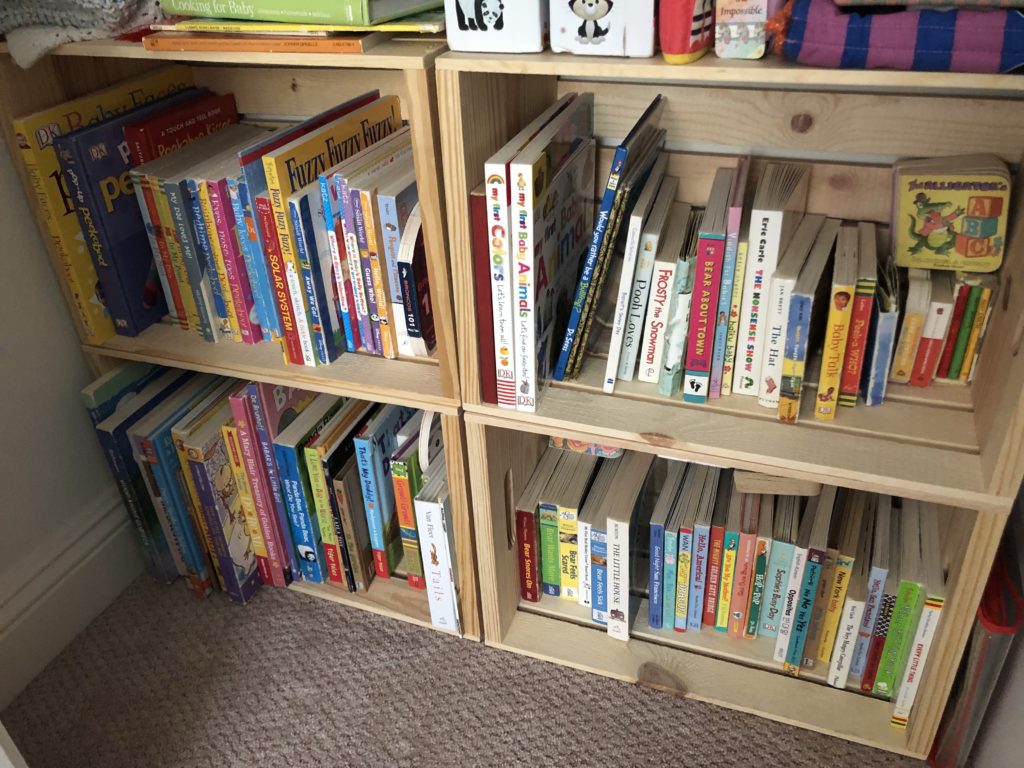
For this part, I tapped in my husband who has a power drill and knows how to use it. It took him about five minutes to screw the metal braces onto each side of the boxes (see photo below).
Step #3: And you’re done!
If these DIY wooden bookshelves were going to be displayed in a prominent location, I might’ve painted them a cheerful color, or at least given them some kind of protective coating. But we put them inside a closet nook within the nursery room, so just left the wood bare for a completely natural look.
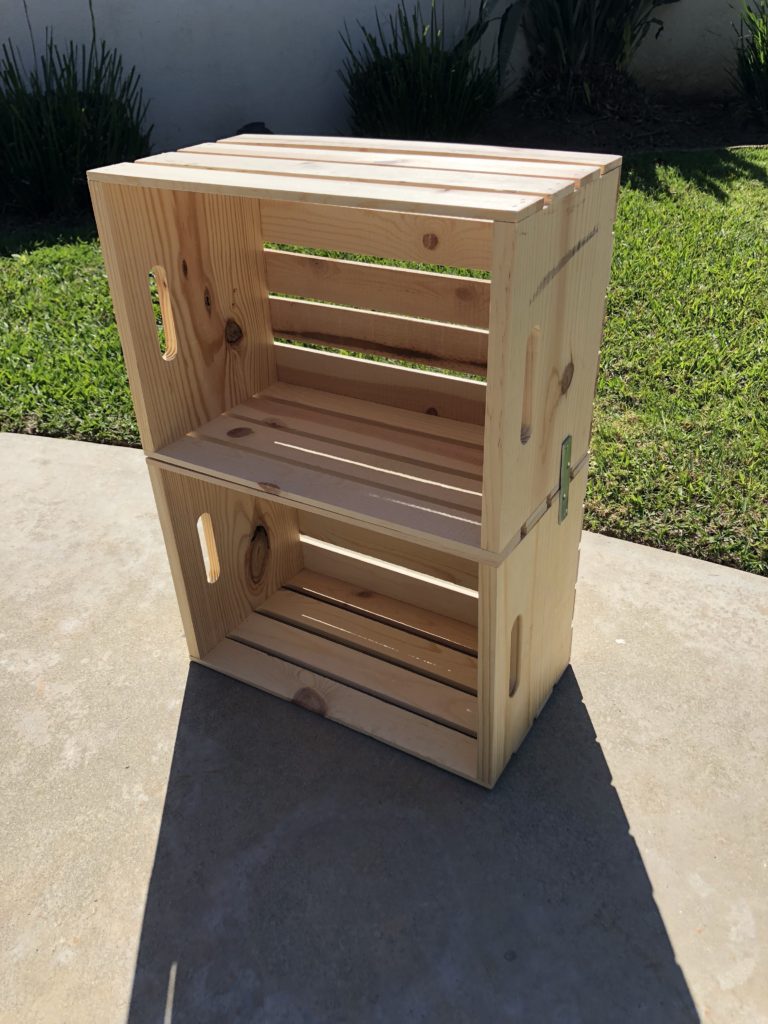
I was so pleased with how this DIY wooden bookshelf turned out that I made another set a few days later.
After over a year of daily use, they’re still just as sturdy and functional as ever, and hold so many thick board books without the shelves sagging at all from the weight!




Brandi Wiatrak
These are such cool shelves and way cooler and edgier than shelves you’d find at Ikea or your local home decor store. Kudos for a job well done, Mama! I love this idea!! And, such a bargain!!!
Eco Friendly Mama
Thank you! I wasn’t specifically going for cool or edgy per say, but I guess that is another good reason to make these eco-friendly DIY bookshelves 🙂
Alexandra
This is such a brilliant idea! I always have so many books lying around that really could do with a home – this is on my project to do list now! Yay!
Eco Friendly Mama
Awesome! It’s such an easy and relatively quick project too. Took me more time to go and buy the crates and hardware than it did to actually sand and assemble them.
Patricia @ Grab a Plate
What a great project (I think even I could do this)! I love the wheels, and I imagine they could even be painted or stained if I’d like!
Eco Friendly Mama
Yes they’d be very easy to stain or paint if you wanted to do that.
Andrea
We made our own bookshelf a few years back. I found it was much cheaper to make your own instead of buying a bookshelf. I love your idea of buying the crates. Most of the hammering is already done for you. Those crates make cute shelves!
Eco Friendly Mama
Haha yes, much easier to buy the crates already assembled. Very cool that you made your own bookshelf!
susie liberatore
I cant ever have enough DIY projects, this is so great and helpful. We have so many books and this would be awesome.
Eco Friendly Mama
Glad you find it helpful Susie!